before we started, it's important to ensure that you have already created a GitHub repository for your project.
Step 1. Change Vite Config
add base like this example :
// https://vitejs.dev/config/
export default defineConfig({
  plugins: [react()],
  base: '/your-project-name/',
  resolve: {
    alias: {
      '@': path.resolve(__dirname, './src'),
    },
  },
});
Step 2. Build Your Project
this example using npm
npm run buildStep 3. Run git add dist && git commit -m 'adding dist subtree'
git add dist && git commit -m 'adding dist subtree'This commits our changes to the master branch so that we can create a dist subtree in the next step. Make sure that dist is not included in your .gitignorefile!
Step 4. Run git subtree push --prefix dist origin gh-pages
git subtree push --prefix dist origin gh-pagesThis step makes gh-pages a subtree of our main branch. The prefix option specifies the folder that we want for our the subtree. If we take a look at our gh-pages branch, we will see that it is equivalent to being the root of the dist folder.
If you want skip step 3 & 4
Access your repository, create a new branch named gh-pages, and upload the dist folder that was generated by following step 2 npm run build
Final Step
In your repository, navigate to the Settings tab, select Pages under the Code and automation section. In the Build and deployment settings, modify the branch from main to gh-pages.
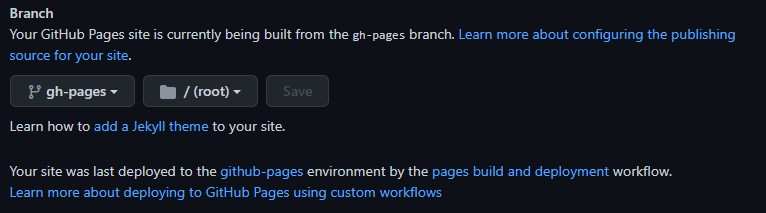
In a few minutes, GitHub Pages should refresh with your newest repository changes, and you should be able to see your vite project online. Exciting!

That's it
However, if you're interested in automating this deployment process with CI/CD, you can refer to the guide at vitejs.dev for more information on using Vite.js and GitHub Actions for a seamless deployment workflow.